Translate

Wednesday, December 7, 2011

Mexico Progress!

Teodoro, our builder in Mexico has been busy clearing the brush and starting on the fence.  I can't believe how much this grew in just 6 months! They say that the vegetation grows one foot every week during the rainy season.  


Making really good progress on the fence. We're also having the gate built and installed as well as hanging the chain link. Once everything is installed, we'll plant some vines to grow over the chain link and some buganvilia near the road, and hopefully a couple of palms. Can't wait to see the gate installed.


Pretty good lifestyle being able to hang out with your grandson and dog while working outdoors at the end of a beautiful and peaceful road. How do I get one of those jobs?


Monday, December 5, 2011

Winter Hiatus

I missed my goal of having the exterior done by winter and so I decided to take a winter hiatus. This project is supposed to be enjoyable and freezing my arse off in the drive-way doesn't sound like much fun.

This opened up a bit of extra $ that we'll be using to put the finishing touches on our Mexico property. We're finishing the fence and gate, installing the septic and water, doing some landscaping and possibly building a small deck. We're also moving the RV from the nearby ranch where its being stored to its more permanent home on our lot. Pictures to follow upon our return.

In the meantime, I picked up 200 sq. ft. of Storm Guard I'll need for the roofing. I'll also continue to search for the few more materials I need to complete the tiny casita. Metal roofing, interior paneling, insulation, etc.

Happy Holidays!

Sunday, November 13, 2011

Once to figure it out. Do it right the second time.

Dig it: When it comes to projects, generally, I just dig in fearlessly and start figuring it out. I've learned a lot, sometimes the hard way, by doing it this way. Most people say "do it right the first time". Well, I say "do it once to figure it out, and then do it right the second time". But building with repurposed materials makes this theory harder to manage. If I make a mistake and run out of something, I can't just run up to HD and grab more plywood for instance. 

Uncharacteristically, I've been stuck in my head lately, second guessing my design and wondering if building this thing out of metal studs is going to work. :(

Less time dreaming: There is a tiny house blog out there somewhere and one of the post was a question about what would you do different on your second tiny house, or regrets on your first. One guy responded that he would spend less time "dreaming" and more time "doing".  He's right! And with beautiful, though slightly windy weather, its time to get back out there, make mistakes, and figure this thing out!


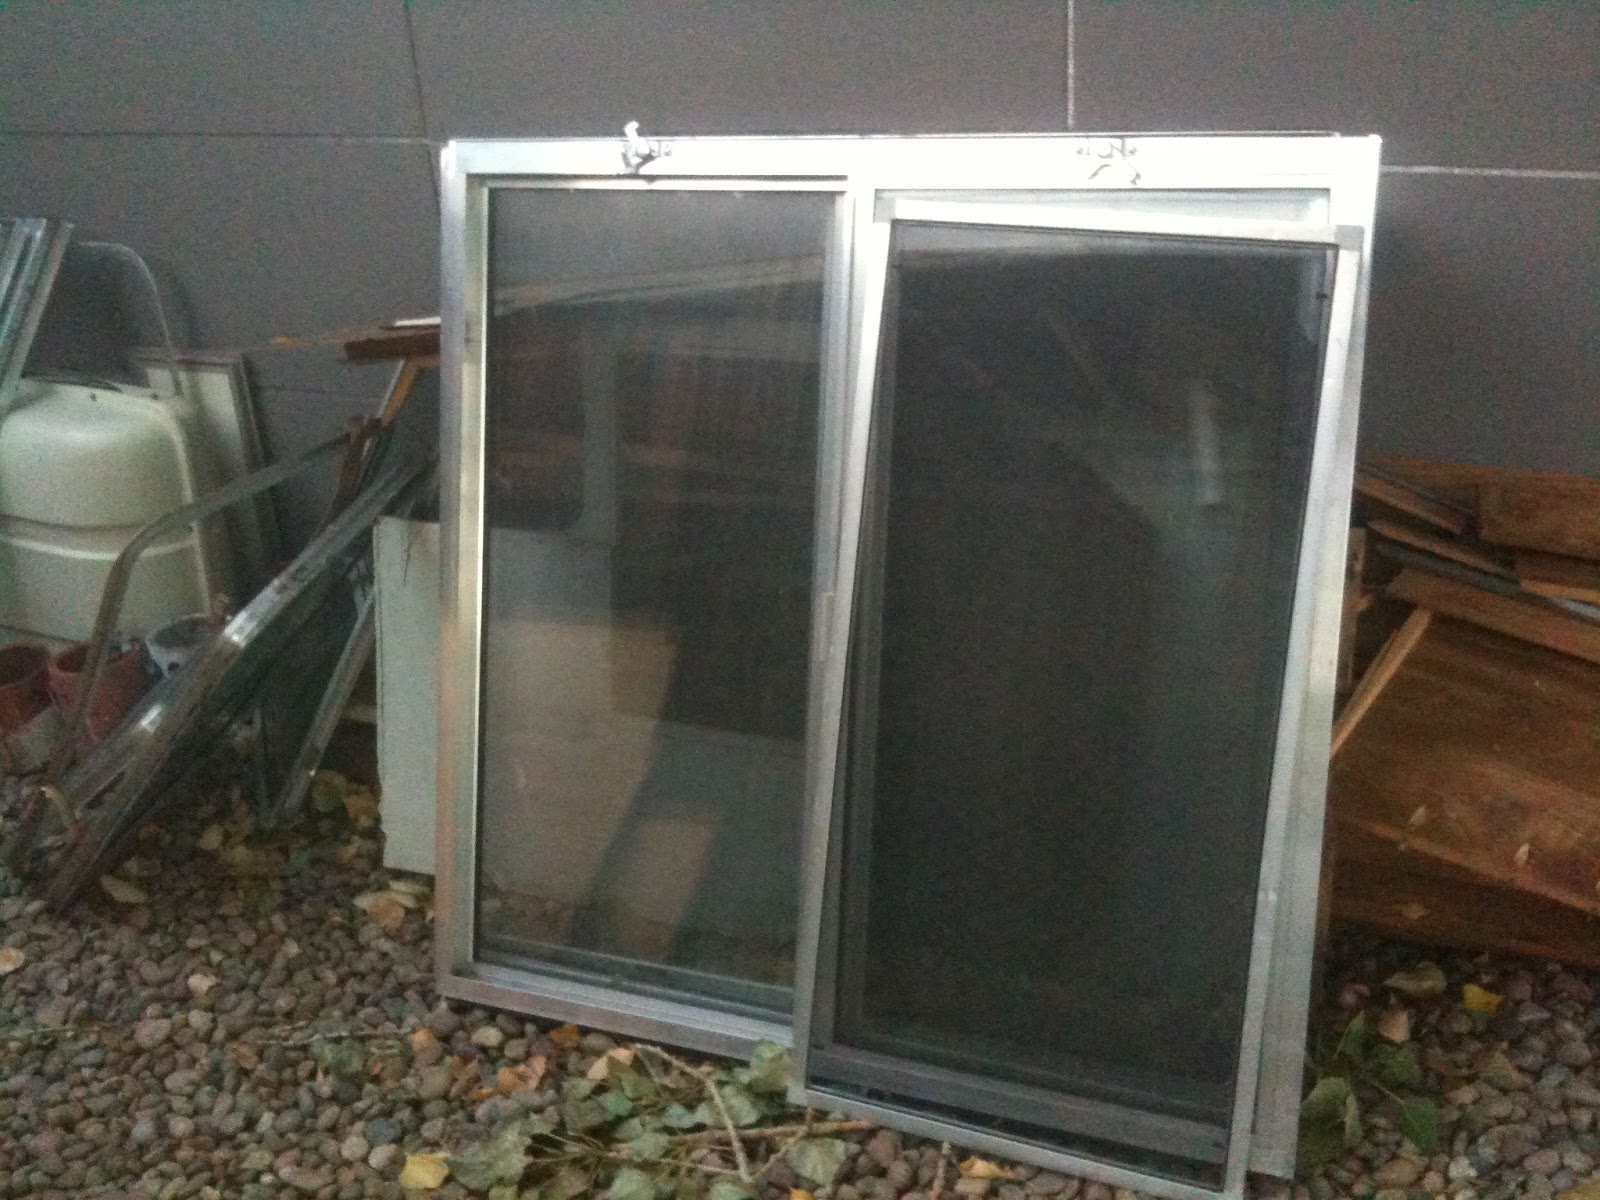
One wall at a time. Here's the first wall (front facing bedroom). You can see that the 4' x 4' windows are really big, maybe even too big. Another disadvantage of building with reporpuposed materials is that you don't have the luxury of being picking. On the other hand, it will be bright and light inside the tiny casita.


Here's the second wall (back facing bedroom). 


Here I'm working out the pitched roof. I thought of making one side of the trailer 4" or 5" taller and just laying the roof on top but, I want the ceilings on the inside to be flat, not angled to match the roof. I'm feeling pretty good about this design. It will be very strong and have slight pitch. All the water will run to one side of the casita so that we can collect rain water. 


Three walls and one roof/ceiling section done today. Might have done more but I ran out of track. I'll run up to Resource in Boulder today and see if they have more. 

Monday, November 7, 2011

Weather Proof!

Snow! Snow! Snow! Crappy weather and chores slowed me down a bit lately. I did get the plywood sheathing painted with two coats of weather proofing stain; regular price $179 , purchased for $20 (oops paint) at HD. Because mold and mildew is a problem in tropical climates like Sayulita, we need to take extra precautions to assure this thing is water tight. 


All the panels we double coated on all sides. Not fun and time consuming but will make a difference in longevity and comfort of the house. 


Also, I found a few insperational images while waiting out the snow inside. 
Love this tiny kitchen with a top that folds down when not in use. 


This kitchen design is a perfect example of just how simple things should be. Too many gadgets = too many things to keep clean. Most of the cooking will be done outside on the BBQ anyway. 


Great example of using 1x1's as siding and security.


Wednesday, October 26, 2011

Wake to the sound of crashing trees.

Crazy how fast things can change here in Colorado.... Good thing I had the mini-house covered. 


Tuesday, October 25, 2011

1 step forward and 2 steps back


Another major score: I got 20 sheets of 5/16 plywood for $4 per sheet. I also hit Repurposed Materials on the way home in hopes of grabbing some free tapered insulation. By the time I got there however, they were out of the free stuff. Still got a good deal.  4x8 sheets of 2-1/2 insulation for $10 per sheet. Not bad.


After a sleepless week of worrying that the original foundation design wasn't strong enough, I took the whole thing apart and started over from scratch. This time I doubled up each stud and made the space between them closer together. Also, screwed the studs together where the back-up to each other. Instead of just metal on the bottom, I used sheets of plywood coated with water-proofing stain ($7 per gal. oops paint from HD). EVERYTHING is glued with construction adhesive. 

Here's a shot of the front section. You can see the doubled studs. The insulation sheets can be cut with a box knife and snapped, or with a hand saw. I prefer the hand saw as the edges are cleaner. Once the insulation has been placed, spray foam into the empty spaces, glue the top of each stud and install top sheet/subfloor. 


Here's the finished back section. Very strong now! Seems like this would be a piece of cake looking at it, but there are a million sheet metal screws, glue and cuts.


Then I flipped the whole thing over to install the metal moisture gaurd I saved from the camper. Not a fun job and easy to get cut. Once I had the metal in place, I covered the whole bottom with some roofing cement I had laying around. This should keep it dry and, keep any creepy crawlers from getting inside. 


Here's where I ended the weekend. Way behind schedule, but at least I know it's very strong now... and I learned a lot along the way. Next weekend I'll finish the foundation and if I'm lucky, start on the walls. In the meantime I need to track down a good deal on some recycled metal roofing.


The weather was too nice to spend working all weekend. Another beautiful day in Boulder. So spoiled!


Monday, October 17, 2011

Bed Rails?

I switched out the wood blade in the chop box to a metal blade. Makes a pretty good cut-off saw. 


My welds aren't the prettiest but their strong! I welded a 2 foot extension to the back of the trailer and 6 "outriggers" to the sides. I also plan on drilling and adding a couple bolts on each side of the rear extensions.


Side view. Built the first of three platform/foundation sections. My first time working with metal studs and I can tell you that they're great! I cut them in groups on the cut-off saw, screwing them in place is fast work, and, if you make a mistake and need to adjust, its as simple as re-screwing. 

I used old bed rails for the side angle iron. It's "spring iron" so, to my surprise, it welds great. Just really difficult to drill threw. There's about a 1/2" gap on each side so that when the siding is in place, it will sit down onto the angle iron. When the siding goes up, I'll screw the foundation to the trailer at the bed rails, and under the trailer.


And from the back.

Friday, October 14, 2011

Ah Oh!

I found a guy selling steel at a great price from an empty lot down by the railroad tracks.  Also, it's been a long time sense I've been in a smokey office with the guy behind the counter openly chain smoking cigs like they're going out of style (which they have). Sounds a little sketchy right? Despite the smokey atmosphere, Dean was a good guy with fare prices. I scored about 45' heavy gauge 3.5" "mini channel" for $60. Not bad, not bad at all. 


Now comes the Ah Oh! 
With the camper (finally) off the trailer I could go back to my plans and make sure that my original measurements we're correct. (The original plan was based on rough measurements.) Even though the camper was 20' the platform that the camper sat on was just over 18'. Bad news as I was originally hoping to build a 24' mini-house. Adding a strong extension to the back of the trailer doesn't scare me as much as the position of the axles, which should be about 10% back from center. Adding 1' to the front and 5' to the back puts the axles too far forward and just doesn't look safe... and 2000 miles is a long way to drive with an unsafe trailer swaying behind. Sadly, I needed to tweak my design (updated, but not completed,  design below).


Funny how things work out. 
I actually like this new shorter design better. I was beginning to think that 24' was too big and starting to move too far away from the original concept of what a tiny house is all about. Small and cozy, just enough room for the bare essentials, easy on the environment and most importantly, efficient and inexpensive. With the the axles slightly back of center, I can safely add 1' to the front and 3' to the rear for a total of 22' I'm losing most of the 2' in the bedroom which likely means a full bed instead of a queen, or maybe a Murphy bed. How much time do you spend in the bedroom anyway? I would rather have a larger kitchen and living area. I also tweaked the design to accommodate the new 4'x4' windows.

Monday, October 10, 2011

Landmark!

I squeezed in a couple hours of work tonight and managed to get the platform completely off the trailer. HUGE day!!! I saved a boat load (err, trailer load?) of money on the trailer but I'm not sure if I would demo a camper again. It was a tremendous amount of work, and it will take me weeks to get rid 
of all the trash. 


I'll pick up some angle iron this week and start welding. I need to add a couple feet to the overall length and add a few more "outriggers" to the sides. I also need to swing by Repurposed Materials (http://repurposedmaterialsinc.com/) in denver to pick-up some pallet tops for my floor. If I get good weather this weekend, I just might have the foundation/platform completed. Fingers crossed.

Nothing easy about it!

I started demoing the deck. What a PITA! I'm saving a ton of money by recycling the old camper but, wow, I didn't anticipate this much work. It took just about every tool I own. Sawzall. Circular saw. Die grinder. Sludge hammer. Etc. 


I just had a few hours to work on Sunday. There is where I ended up.


The good news is that I scored 4, 4'x4' double-paned windows on CL for $10 per window. They're in great shape complete with screens. Nice!


Also found a lead on metal for .25 per pound. Hopefully I can get what I need to start welding on the trailer this weekend. 

Thursday, September 29, 2011

Park City!

I picked-up 80 metal studs in 10' and 12' lengths for $1 per piece this week. All together I now have about 120 studs. Should be about enough to get the whole thing done. 

No work this weekend. Mountain bike weekend with the crew in Park City!!!

Next week I'll get all the goodies I salvaged from the camper orginized in the garage, demo the platform and take the remaining trash to the dump. Then the real fun can begin!

Saturday, September 24, 2011

Sorry neighbors!

Here's where I started at 7:30 am yesterday. With the windows out, the entire camper nearly collapsed.


Once I started peeling off the siding, the whole thing started to fall apart. My attempt at keeping things organized and under control was a failure.


Soon, the roof caved in...


Then all hell broke loose. What a mess!


I put everything in piles. Metal here, 1x1's there, etc. It took all day. I had originally planned on taking all the metal to the recyclers but when Casper and his son stopped and asked if they could have it. Well, it was well worth the $50 or so dollars I might have made to let them haul it away. Nice guys too. So along with the metal, I gave them all but three of the camper windows. Some other people stopped and took some of the wood. I bagged a lot of the small stuff and set it out for trash collection.


At the end of the today this is what I have left. I'll slowly bag the rest up and leave it for trash day. 


I still need to demo the old rotten platform but, not bad for two days work. Will I do it again? Not anytime soon! That was way more work that I thought it would be. I'm tired!


Wednesday, September 21, 2011

Making progress

A little bit here and there in the evenings. The trailer is pretty much gutted now. Next step: take each window out. Then the long strip of aluminum on each side that basically holds down the aluminum siding. Save the siding. After that, I'll use a come-a-long to pull the whole frame down onto the driveway. Hopefully by the end of the weekend it'll be tore down to the frame and all the trash hauled away.


Here's a shot from inside my garage looking into the back of the camper. Good times!

Sunday, September 18, 2011

Demo Begins!

As you can see, I started the demo. Honestly, not nearly as much fun as I expected. It's slow going as I'm trying to save everything I can including the screws, hinges, etc. 

The good news, the camper was NOT worth saving. For a minute there I felt a little guilty that maybe I should do a restore rather than a total tear-down. However, the walls are water damaged and most of the wood is rotton. I've even resorted to wearing a resperator while working. 


Here's the furnace. Its actually in really good condition so I'll reuse this.


You can see the stove in the back here. Also in good condition.


Here's the fridge. Also works great on both electric and propane. I found a company that sells rolls of stainless steel with an adhesive backing. I'll use it on the fridge and it'll look better than when it was new. 


Next I'll demo the bathroom. I can use the shower base, the tiny little sink, and the faucets. The toilet is shot and I want to use either a full size composting toilet, or a regular toilet, as our property in Mexico will have a septic tank.


Now I just need to figure out a cheap and relatively easy way to get rid of the trash. Maybe I can burn the wood? Maybe recycle the aluminum siding? Possibly sell the windows? Probably best to order a dumpster...